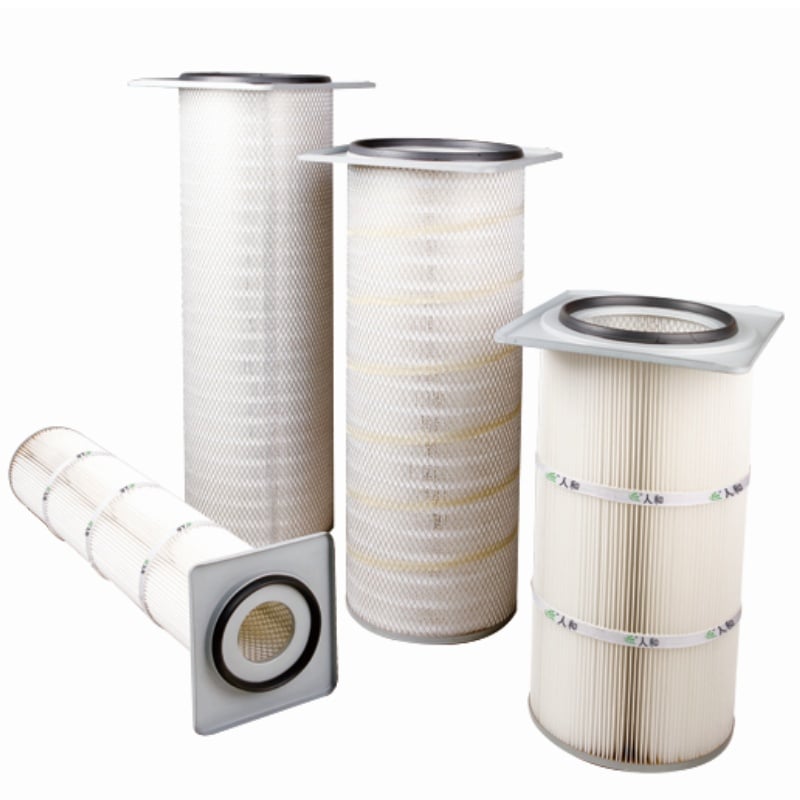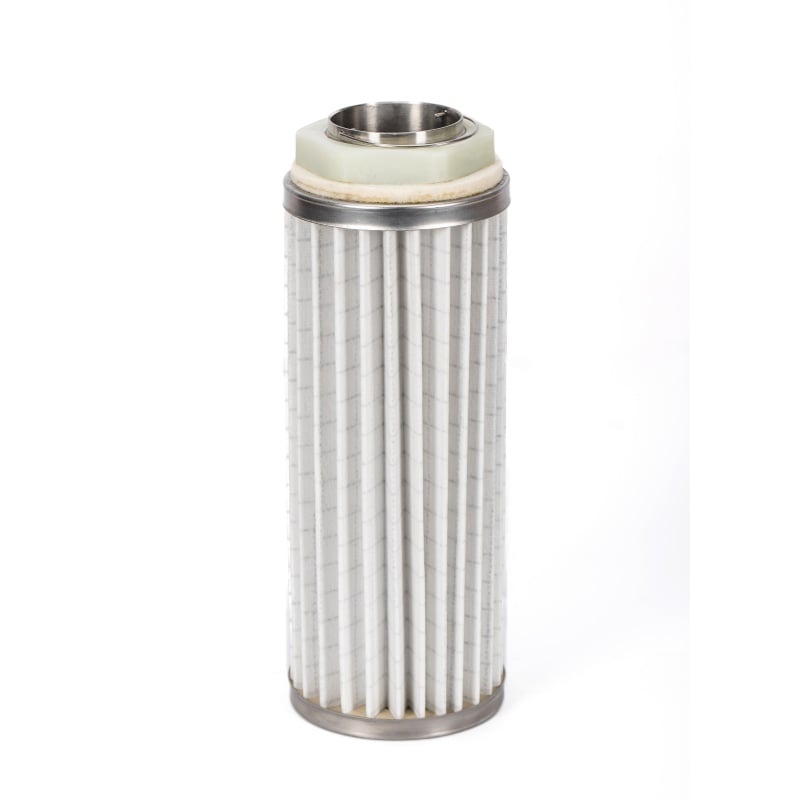
When dust emissions appear downstream of a collector, the first suspect is often the medium. Yet a torn element is only one cause. More often the leak is at the seal: a replacement filter cartridge that is not fully seated leaves a path around the gasket, so fine dust enters the clean side and shows up as dust emissions at the outlet. This is easy to misdiagnose because the emission looks similar to media failure. Understanding that the gasket face, not the pleats, is the real barrier changes how you inspect the problem. A properly installed replacement filter cartridge should direct all airflow through the medium, with no shortcut around it.
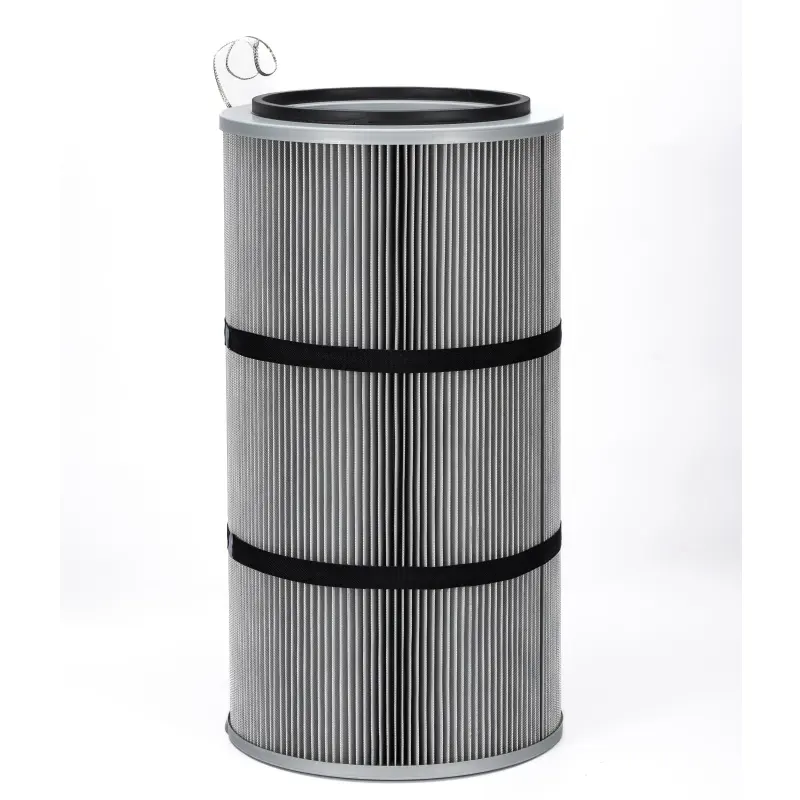
The rubber gasket is the component that makes the seal possible. Compressed between the cartridge end and the tube sheet or header, it fills the microscopic gaps that would otherwise let dust migrate. A gasket that is hardened, flattened or cut will not recover, and no amount of tightening a clamp fixes a degraded seal. When you install a replacement filter cartridge, treat the gasket as part of the element rather than an accessory. Check that it sits evenly in its groove and that the seating surface is clean. Many suppliers offer the rubber gasket as a separate spare because it is the most replaced part in routine service.
Seating is a physical condition, not a matter of turning a fastener until it feels tight. For a twist lock cap it means rotating fully into the detent. For a three lug or four lug element it means all lugs engaging the retainer at the same depth. A threaded type must be snug without cross threading, and a square cap must sit flat against the header. In each case the goal is uniform gasket compression around the full circumference. A replacement filter cartridge that is tilted by even a small angle leaves one side under compressed and one side over compressed, and the weak side becomes the leak path.
A leak check turns assumption into evidence. After installation, run the fan at normal speed and inspect the clean side with a strong light, looking for dust streaks near the tube sheet. Some teams use a tracer powder upstream and sample downstream to confirm that no bypass occurs. The check is most valuable right after changing a replacement filter cartridge, because it catches a seating error while the job is still fresh. Record the result so you can tell whether a later rise in emissions is a new problem or a returning one. A simple leak check is cheaper than diagnosing a gradual dust problem months later.
Consider an anonymous powder coating line that noticed faint dust emissions at the stack after a routine service. The elements were nearly new, so the team first suspected the media supplier. On inspection, one replacement filter cartridge was found seated a few millimetres high because debris had collected on the header. The gasket on that position was compressed on one side only, and clean side dust was passing the seal. After cleaning the header and reseating the element, dust emissions returned to the previous level. No filter was discarded. The case shows that dust emissions can be a seating problem, and that a leak check pays for itself quickly.
A failed seal usually announces itself gradually. You may see a light, continuous plume that does not respond to more cleaning, or a rise in dust emissions that appears shortly after maintenance. Differential pressure can stay normal because the medium is doing its job while air sneaks around it. Another clue is dust accumulation on the clean side of the tube sheet, which should otherwise stay visibly clean. If several positions show the same pattern, look at the header condition and the gasket specification rather than the medium. A replacement filter cartridge cannot compensate for a warped or dirty sealing face.
Start by matching the gasket material and thickness to the original, since a thinner gasket may never reach compression. Confirm that the end cap style engages your retainer fully, and that the sealing face is flat. Include the gasket in the spare parts list so it is replaced whenever the element is disturbed. During receiving, inspect the gasket for shipping damage before fitting the replacement filter cartridge. These steps are inexpensive and directly reduce clean side dust. If the application is critical, request a leak check procedure from the supplier and verify test documents before you approve the change.
Question one: Can a new cartridge still cause dust emissions?
Answer: Yes. A replacement filter cartridge that is not fully seated, or one with a damaged rubber gasket, can leak even when the media is new. Check the seal first.
Question two: Will stronger clamping stop a bypass?
Answer: Not if the gasket is degraded or the seating face is dirty. A leak check should confirm uniform compression; over tightening a clamp rarely fixes an uneven seal.
Question three: How often should the gasket be replaced?
Answer: Replace it whenever the element is removed or if it shows hardening, flattening or cuts. Many service plans treat the rubber gasket as a routine spare rather than a one time part.
 Hot News
2026-11-21
2026-11-21
2026-11-21
2026-11-21
2026-11-21
2026-11-20
Renhe focuses on air filter cartridge, gas turbine air filter, Pleated Filter Media, industrial dust, Our main products have been recognized as high-tech products in Jiangsu Province, famous trademarks in Wuxi City, and CE certification.
NO. 31 Xingyuan Road, Jiefang Industrial Park, Gushan Town, Jiangyin City, Jiangsu Province, China (214414)
Copyright © 2024 Jiangsu Renhe Environmental Equipments Co., Ltd Privacy Policy
 EN