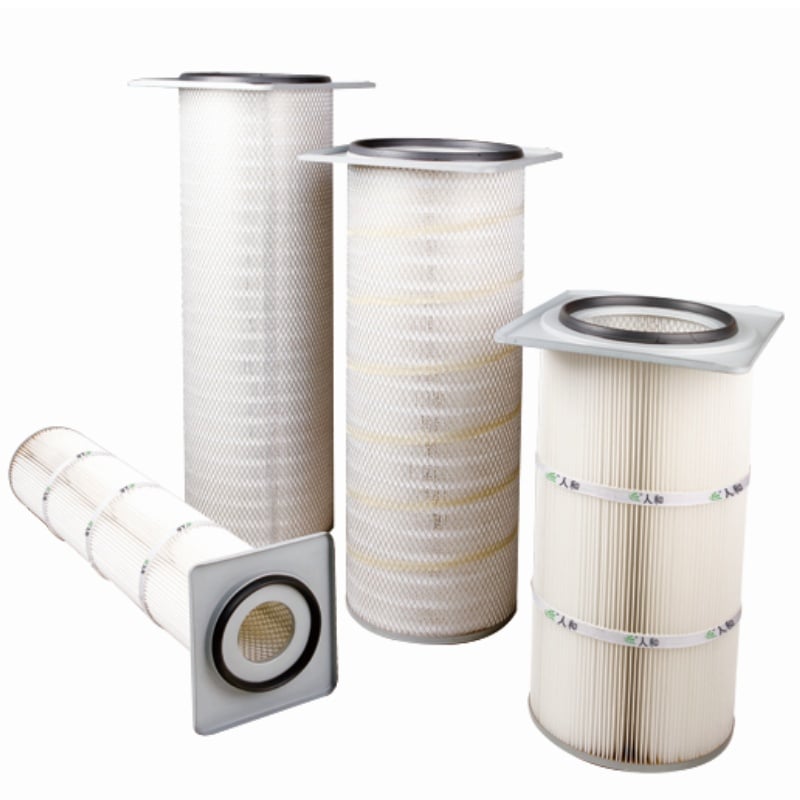
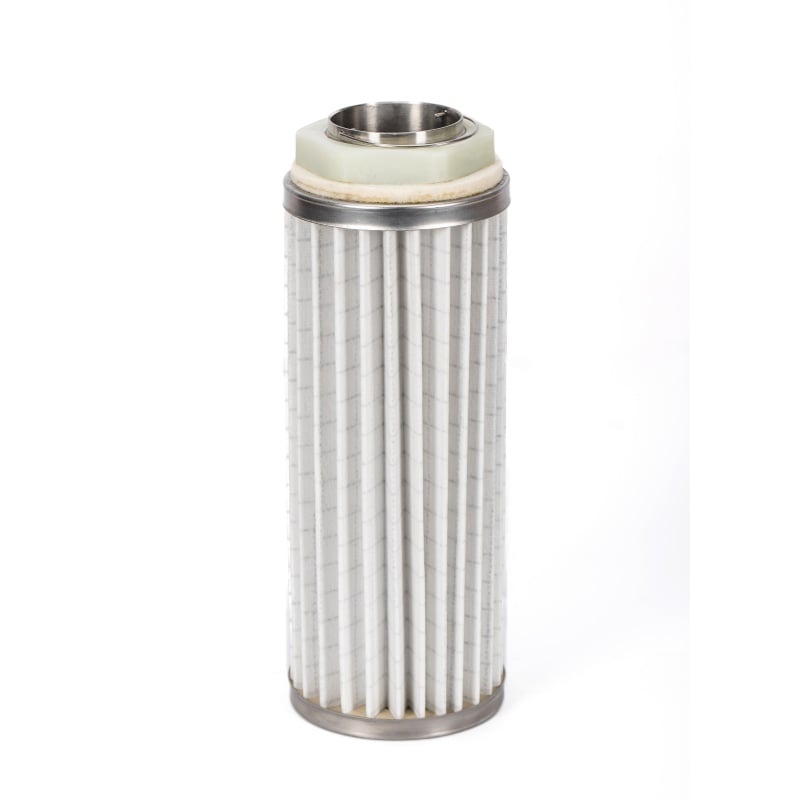
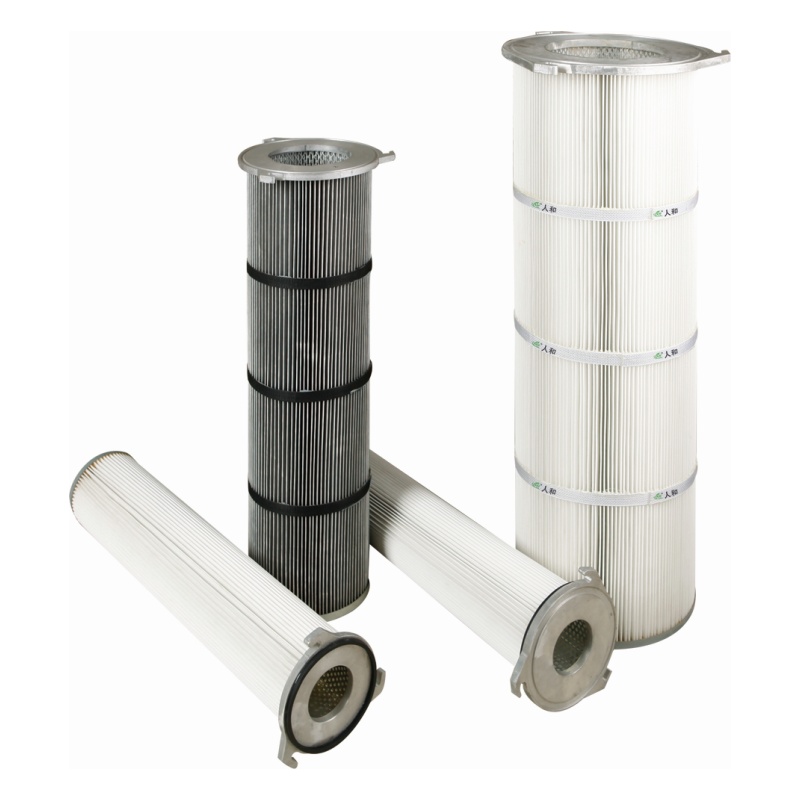
A PTFE coated filter cartridge looks tough from the outside. The media has a support layer, the end caps are rigid, and the outer cage can take a bump. The fragile part is the thin PTFE membrane on the dirty side. That membrane controls dust release and fine capture. A scratch that cuts through the coating can open a bypass path that is hard to see and hard to fix. Handling and installation should be planned around that one fact. The cartridge should stay in its protective sleeve until the housing is ready. The route from the storage area to the housing should be clear of sharp edges, grit, and loose tools. A membrane scratch often happens before the cartridge reaches the housing, during unpacking or staging on a dirty floor.
The first risk point is the shipping box. A knife cut through the box can score the membrane if the blade goes too deep. The cartridge should be lifted out, not dragged across the cardboard. Gloves should be clean and free of grit. A common field habit is to stand the cartridge on its end cap on the floor while the housing is prepared. That habit puts the pleat pack in contact with dust and grit. A better approach is a clean padded cradle or a dedicated stand. If the cartridge must be laid down, the surface should be smooth and covered. The table below compares common staging methods and the risk each one creates.
| Staging method | Scratch risk | Practical note |
|---|---|---|
| Standing on end cap on floor | Medium to high | Grit can enter pleats |
| Leaning against a wall | High | Cage can deform, membrane rubs |
| Lying on cardboard | Medium | Cardboard dust and edges |
| Padded cradle or stand | Low | Best for short staging |
| Left in shipping sleeve | Low | Keep until housing is ready |
The table is not about perfect conditions. It is about removing the easy mistakes. A clean cradle costs less than a replacement cartridge.
Most membrane damage during installation comes from the housing, not the cartridge. Weld spatter, sharp flange edges, burrs on the tube sheet, and dried gasket residue can all catch the membrane as the cartridge slides in. The housing should be inspected with a light and a gloved hand before insertion. The sealing surface should be clean and free of old gasket material. The bore should be checked for a sharp lip or a step that can peel the coating. If the housing has a rough weld at the inlet, a protective guide sleeve or a temporary chamfer can be used. The cartridge should not be forced past an obstruction. A forced fit is a scratch waiting to happen.
The insertion path should be straight and supported. A cartridge that is long and flexible can sag and rub against the housing wall. Two people are better than one for larger sizes. The cartridge should be aligned with the bore before it touches the sealing surface. A light application of compatible lubricant on the gasket can help, but the lubricant should not migrate onto the membrane. The cartridge should be pushed by the end cap, not by the pleat pack or the outer cage. Pushing on the cage can deform the pleats and cause the membrane to rub against the support layer. The insertion should stop if resistance rises sharply. A slow, straight push is easier to control than a quick shove.
The clamp and gasket step is where small scratches become real leaks. The gasket should be seated evenly, and the clamp should be tightened in a cross pattern. Over-tightening can distort the end cap and pull the membrane away from the bond line. A torque wrench is useful, but the manufacturer's seating pattern matters more than a single number. The area around the clamp should be checked for loose screws, washers, and tool edges. A dropped wrench can put a nick in the membrane that is easy to miss. A field case from a chemical plant retrofit in southern China showed this exact problem. The installation team used a wire sling to lift a large cartridge into place. The sling contacted the pleat pack and left a rub mark near the top end cap. The unit passed a visual check but showed a local leak during a bubble point test. The fix was a soft sling and a guide sleeve. The lesson was that lifting gear belongs in the installation plan, not in improvisation.
A final check should confirm that the cartridge is seated, the gasket is compressed evenly, and the clamp is secure. A bubble point test or a pressure hold test can give a baseline for the membrane, and ASTM F316 describes bubble point testing for membrane filters. ISO 16890 is useful for general air filter classification, but it does not replace an installation check. The record should note the cartridge identifier, the housing, the insertion date, and any visible condition issues. A membrane scratch is not always visible, so the documentation should not claim a scratch-free result unless the inspection was thorough. For projects that need consistent coating quality, clean end caps, and batch-level traceability, Renhe's production base and quality control process can support the handling and documentation side of the work.
 Hot News
2026-11-13
2026-11-13
2026-11-13
2026-11-13
2026-11-13
2026-11-12
Renhe focuses on air filter cartridge, gas turbine air filter, Pleated Filter Media, industrial dust, Our main products have been recognized as high-tech products in Jiangsu Province, famous trademarks in Wuxi City, and CE certification.
NO. 31 Xingyuan Road, Jiefang Industrial Park, Gushan Town, Jiangyin City, Jiangsu Province, China (214414)
Copyright © 2024 Jiangsu Renhe Environmental Equipments Co., Ltd Privacy Policy
 EN